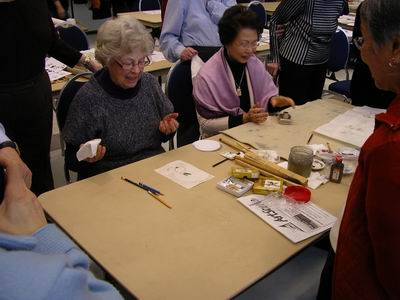
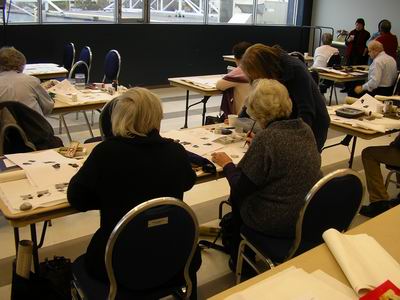
Chicks and Rabbits with Moira Mudie - March 12th, 2011
With spring, chicks and rabbits seem to come to mind. 2011 is the year of the rabbit too. Moira Mudie began her workshop with chicks, showing the workshop participants many variations Moira had painted.
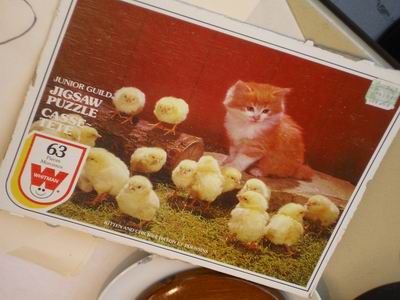
Moira also brought pictures of real chicks.
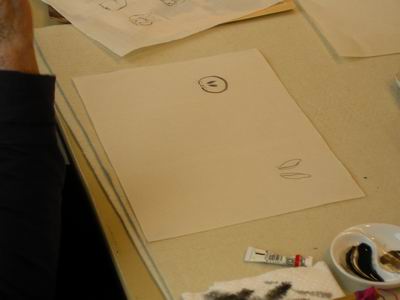
Proportions are the start of understanding how to paint chicks. Two intersecting circles or almost circular structures show the relationship of the head to the body.
The type of beak can vary with the type of bird. Some beaks are adapted for finding small bugs and others for finding grain or fish.
The eye is placed closer to the beak in the head. The eye too can vary, some birds having their eyes to the side of the head and other birds, like owls, having their eyes close to the front.
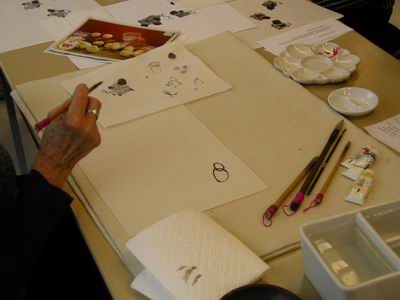
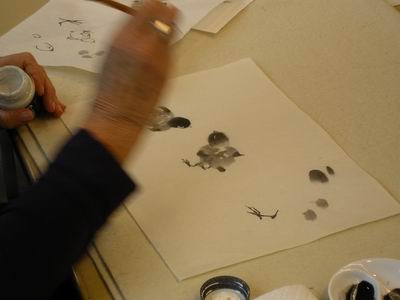
When painting a chick, Moira told us, start with the head, which is slightly darker at he front. It can be done with one stroke by using the flat side of the brush. Legs are added with a pointed brush that pauses to add the joints.
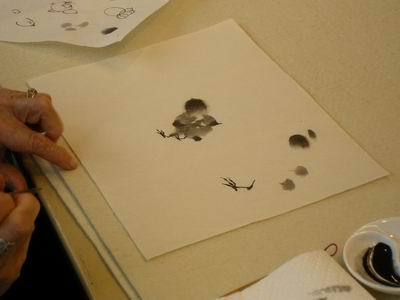
Using a dot of white is the way to bring life to the chick's eye. Slightly darkening the wings and tail brings adds the early signs of the future wings and tail of a bird.
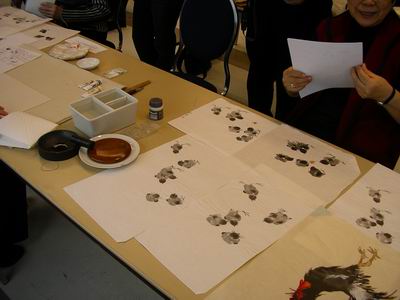
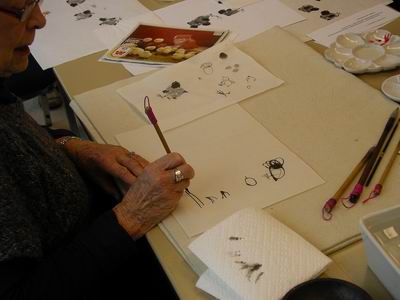
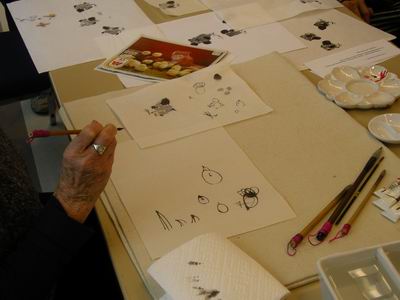
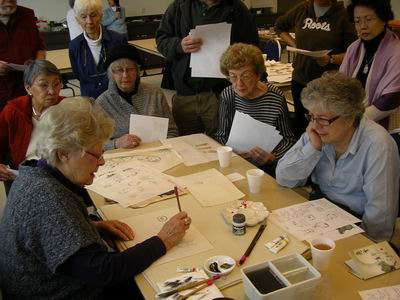
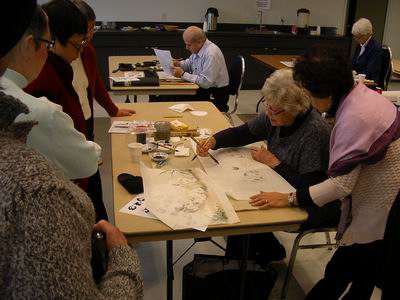
Then it was our turn to paint chicks though Moira helped us out.
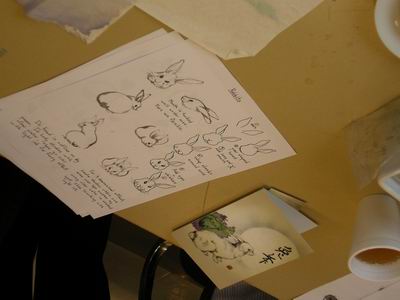
Similar to chicks, understanding proportions, the components of rabbit paintings, and having a guide to know where to start is helpful. Moira prepared a handout that provided those rules.
Since this is the year of the rabbit, many magazines have pictures of rabbits including this newsletter from the Sumi-e Society of America.
Paintings of rabbits can be stylized or realistic.
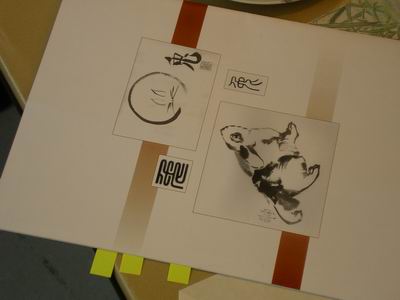
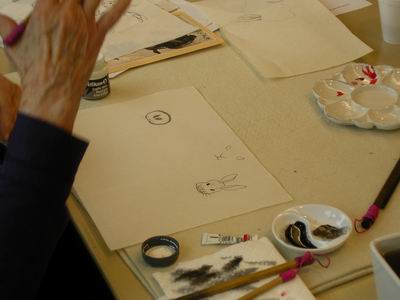
A circle with ears creates the stylized version. To create a rabbit closer to the ones you see, Moira Mudie advised starting with the ears.
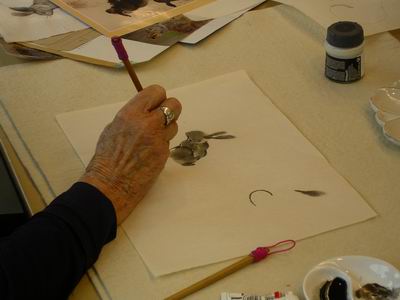
Moira chatted with the workshop participants as she painted. The features of the head of the rabbit were painted with a pointed brush.
The head is peanut shaped with a nose, mouth and whiskers in the lower half. The large eyes with a dot of white in them are at the midpoint of the head.
Moira showed how to create the soft fur of the rabbit such as the fur in the ears by first painting with water and then adding some gray ink.
The soft fur of the inner ear could also be used when painting a side view of the rabbit.
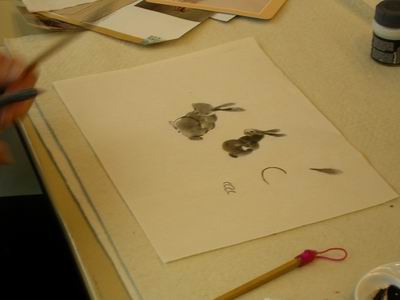
The rabbit can be painted in a similar fashion to the chicks starting with the head, ears and body. Using a larger brush and laying the brush on its side fills the areas of the head and body.
A pointed brush can be used to outline an edge such as the rabbit's back legs. The eye with a dot of white completes the rabbit.
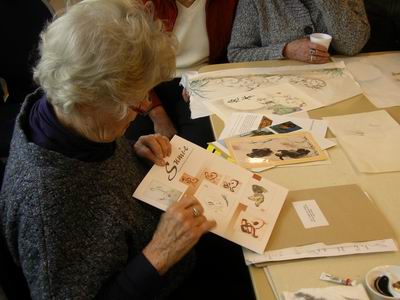
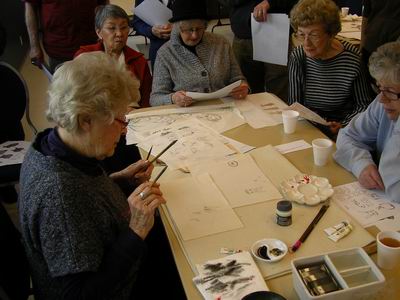
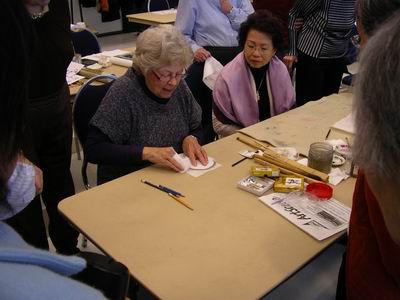
It was our turn to work on the rabbit with the help of the demonstration and lots of samples from Moira. Some tea and cakes from Linda Nakatsu and Dianne Kitazaki helped.
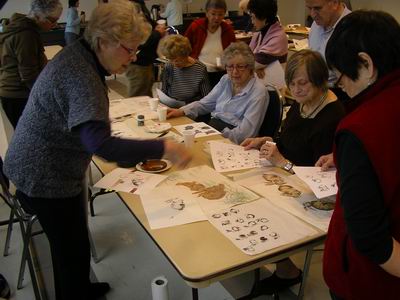
Moira Mudie did come around to help us rabbit-painting neophytes.
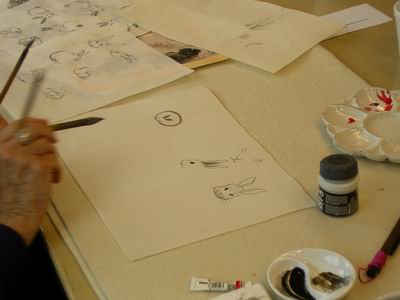
Moira provided this tip for those working on paintings set during an evening with a full moon. Using a circle and some paper with gray ink, Moira created the outline of a moon.
Removing the circle added the moon with a rabbit now in its centre.